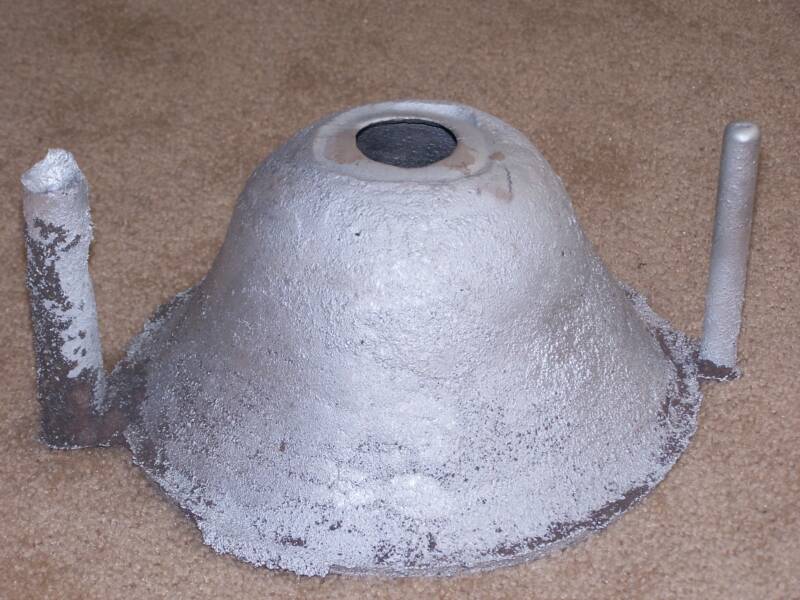
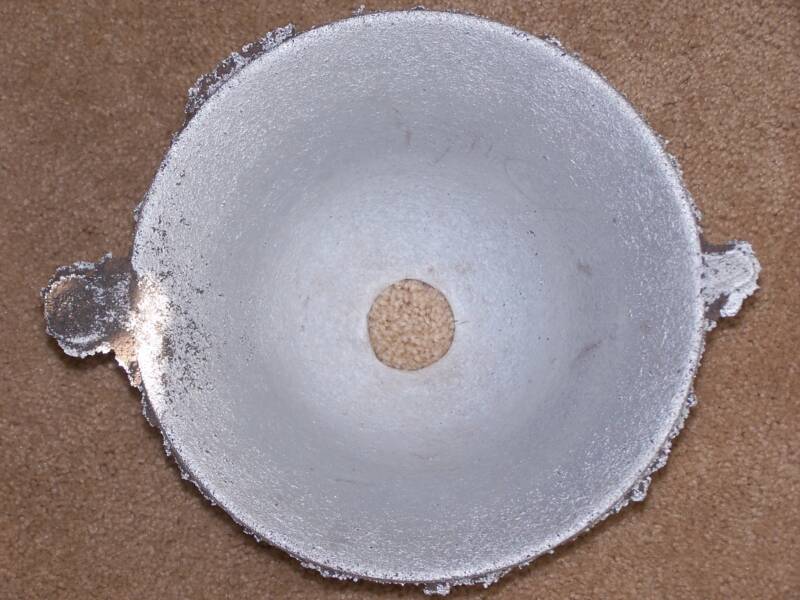
Here are two pictures of my first attempt at a bell. I made a form from plexi-glass and mounted it on a 1/2 inch piece of round stock to form the pattern. Click here for example I poured this using aluminum because I was just trying to make a pattern. It turned out to be a short pour...and bigger than I wanted (It is about 10", 25cm) ....So I will try again....and I will take pictures to show everyone the process.
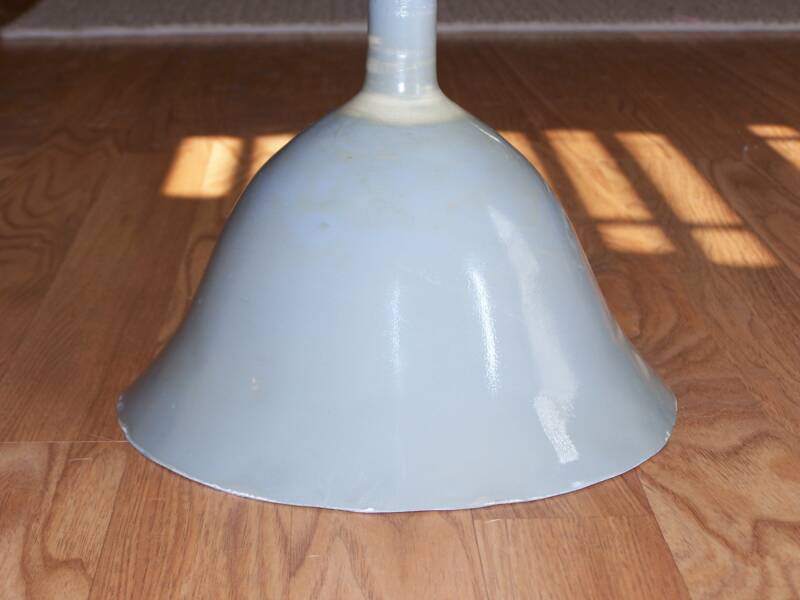
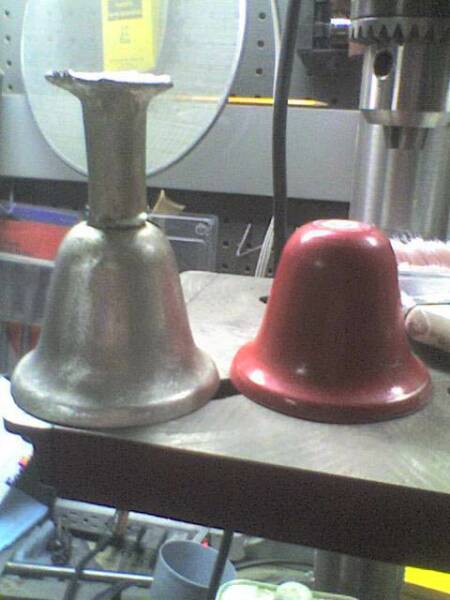
I decided this bell (above) is too big so I smoothed out the inside and rammed it with sand to make a core. Then, Iput the core in and rammed the cope, lifted off the cope and cut approximately 1/4 inch off the core and smoothed it off. Then I put the cope back on and poured. Below is the result of that pour. I sanded it, sprayed it with sandable primer and then finished it off with laquer so it has a smooth finish. This will be my pattern for future bells.
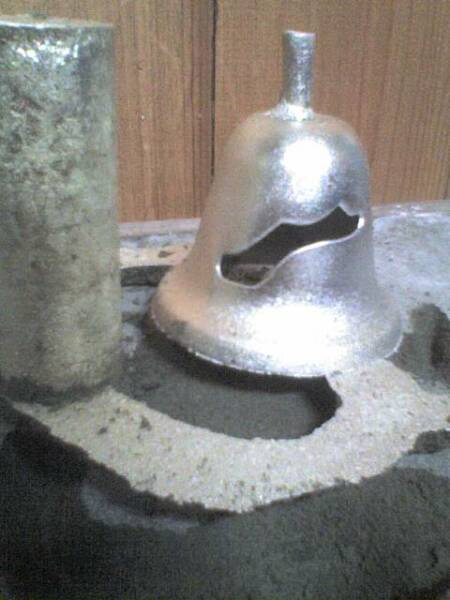
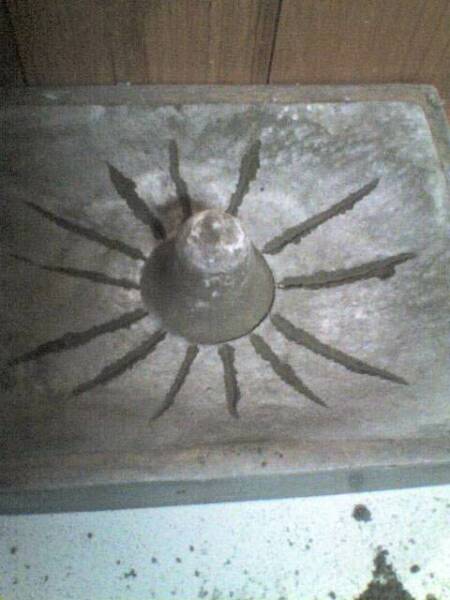
Here is another bell I am trying to cast. It is much smaller and I am pouring pewter into K-bond sand. As you can see, I got a major defect. I am thinking that I need to run a torch over the sand that makes up the inner part so that it doesn't let gas out and create this problem. Anyone else have an idea of what caused this? I was also thinking that I could pour it hotter or give it a longer sprue for more pressure.
OK here is the next pour. I ditched the bottom pour and poured with a pop sprue. (I think that's what it's called) I put in some rather large scratch vents which filled completely making me think they probably weren't necessary. I also dug down into the drag about an inch to try to get more pressure on the mold.
Update 12-17-2007
Drag with scratch vents.
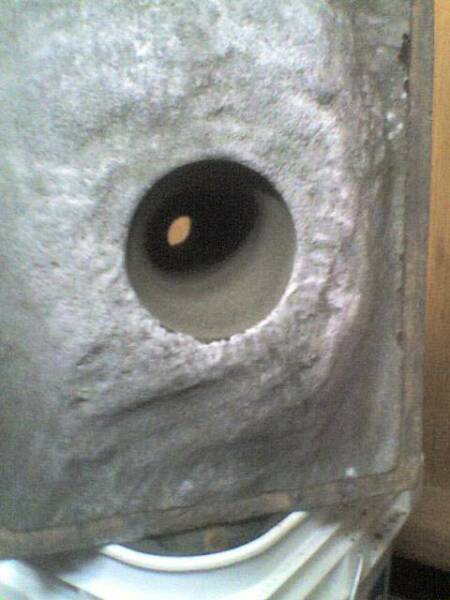
Cope
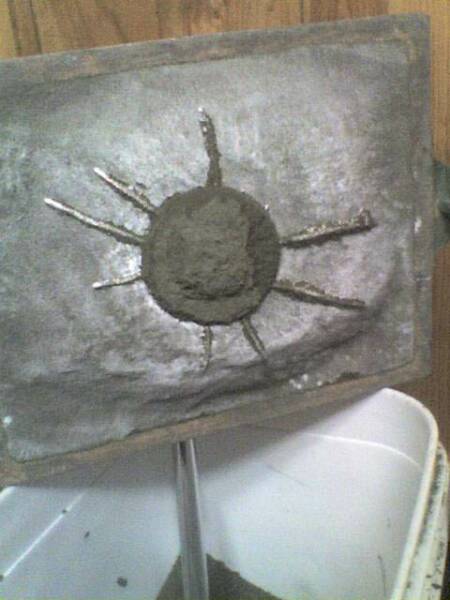
Cope after pour...you can see the scratch vents filled up.
As cast with pattern beside it.
Here are three Videos of the molding and casting process.
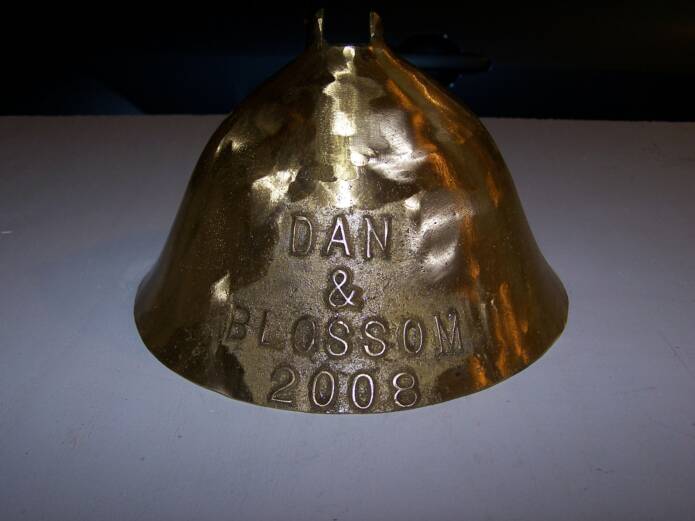
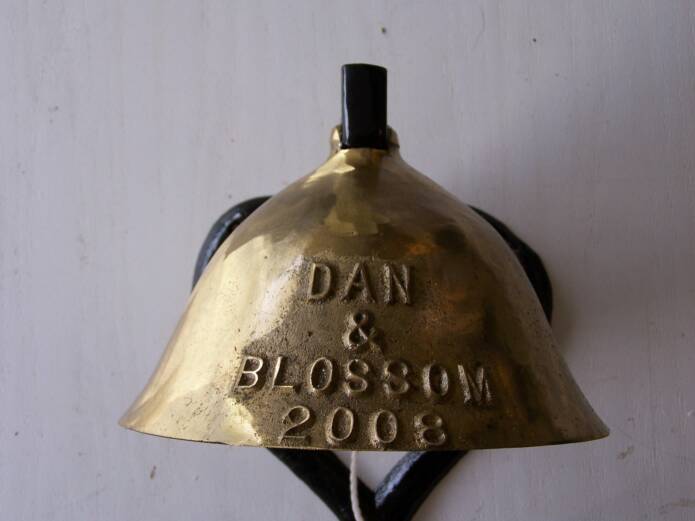
OK I used the pattern shown above to make this bell. I put the writing on the bell, then rammed just that section with sand mixed with water glass...sodium silicate. Then I gassed it with CO2 to form a core. then I took the letters off the pattern, and rammed the pattern with the core in place. Here is a picture of it shined up a little bit.
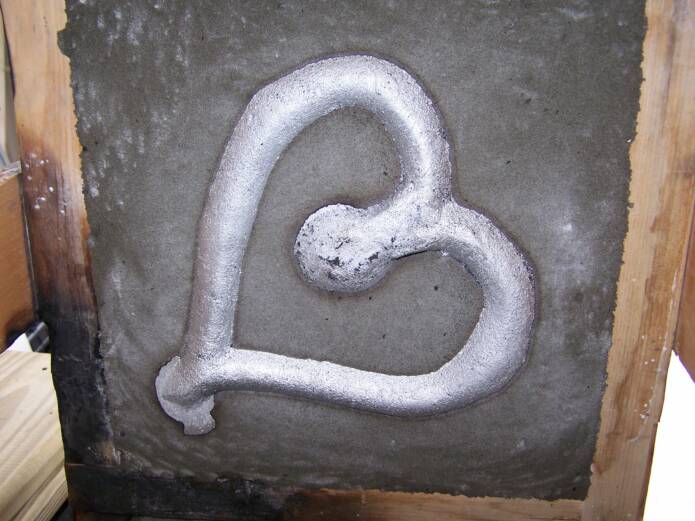
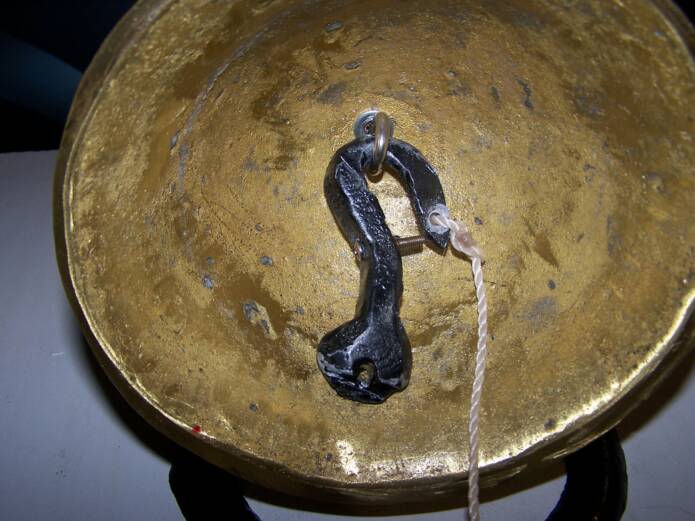
I cast this out of aluminum to be the mounting bracket for the bell.
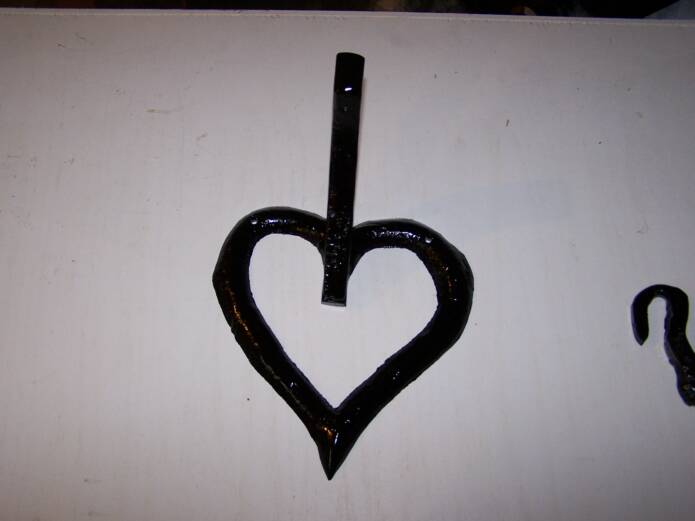
Here it is painted. with the other bracket mounted on it....and the clapper on the right.
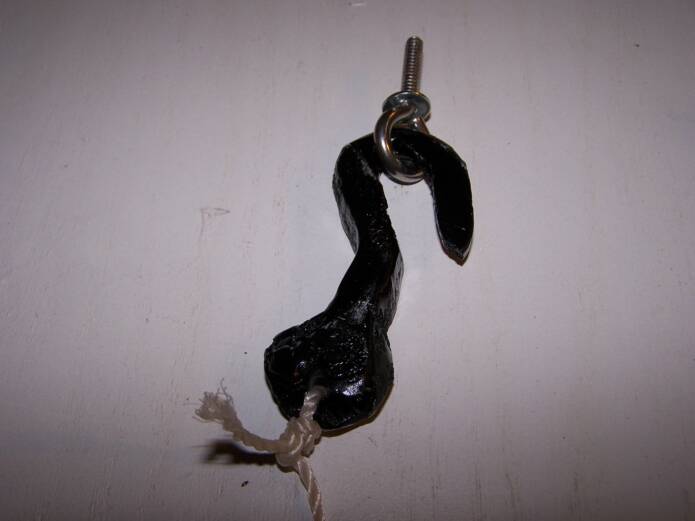
I got a stainless steel eye bolt that the clapper goes over and then it is put through a hole in the bell and screwed into the mounting bracket. The mounting bracket is tapped for the 1/4 20 threads.
I had to put a screw through the clapper to make sure it couldn't be removed. I also modified it because if I tied the string onto the bottom of the clapper, it was hard to ring it. The way it is now, you can pull straight down to make the clapper swing and ring it.
Here is the bell completed. I made a groove in the top of the bell, (which was the sprue actually) to fit the support bracket.
If I was going to make another one, I would make the heart bracket a little bigger although the way this one is, it will fit where they want it to go.